


YouTube Video Editor enables you to alter your video directly from the YouTube stage; these incorporate recordings that have effectively been distributed or shared. In the initial segment, we will show you how to alter your distributed YouTube recordings without losing video ID and URL, in the subsequent part, we offer high-level video altering tips for altering distributed recordings.
On the off chance that you need to stow away or eliminate a few recordings of your or others’ YouTube channel, you can check this article.
Progressed Tips to Edit Uploaded/Published YouTube Videos
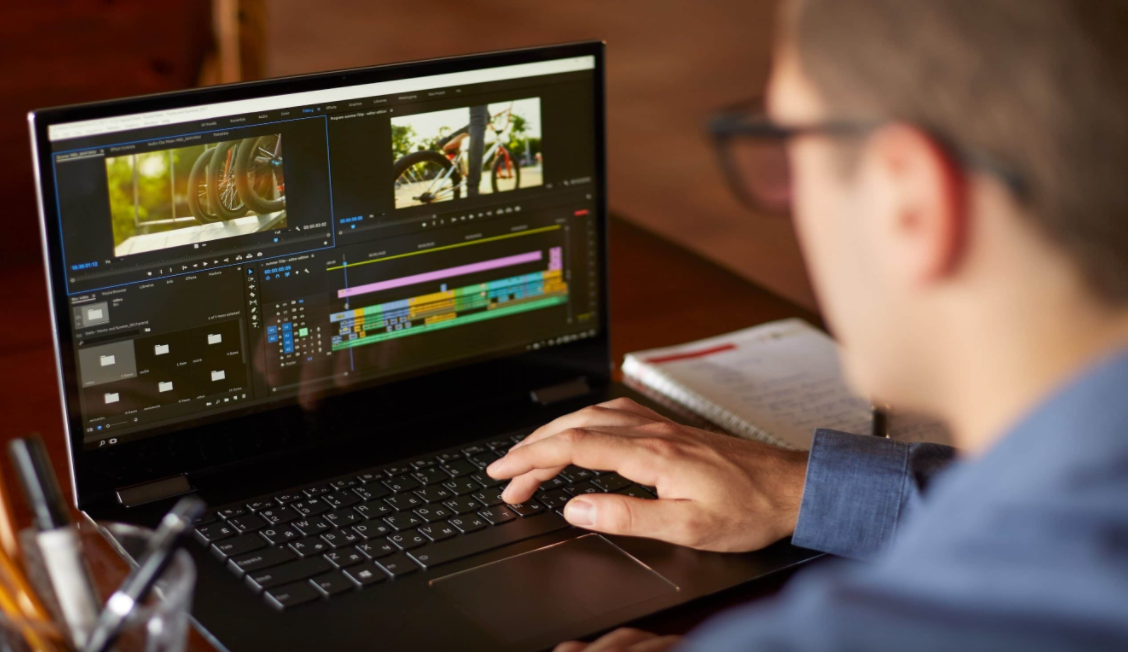
The facts confirm that YouTube Editor gives us a helpful stage that permits us to alter existing YouTube recordings in an effective manner. Nonetheless, the devices they give are excessively fundamental. In the event that you need to play out a more unpredictable altering, you will require a disconnected manager like Windows Movie Maker, iMovie or Adobe Premiere. Be that as it may, in the event that you are searching for a straightforward time amazing asset, we strongly suggest Wondershare Filmora. It is profoundly viable with the various picture, sound, and video designs. It is similarly pretty much as straightforward as bringing in the video and altering them.
The drawback, notwithstanding, is that you will lose the first ID of the video. This may fill in as an issue on the off chance that you have effectively shared the video before since the perspectives may vanish. A decent answer for this issue is to put a comment to the old video telling your adherents that you have made a superior nature of the video then direct them to the connection.
Check how to draw in your crowd to remain tuned from this video underneath:
Alter Existing YouTube Videos
Allow me to walk you through a natural circumstance, you go the entire evening attempting to make your video great, transferred it on your YouTube channel, and shred it to your online media accounts. At that point, you saw that you need to fix something. The typical methodology in those days is to erase the video, re-alter utilizing disconnected apparatuses, and afterward re-transfer it once more. Unmistakably, this cycle takes a lot of time. Moreover, it changes the ID of your video which implies that the past insert will at this point don’t work.
1.Sign in
The primary thing you need to do to alter transferred/distributed YouTube recordings is to sign-in with your Google account.
2.Locate the video you need to alter
Subsequent to marking in, you currently have the choice to see all your transferred recordings. Go My Channel > Choose YouTube Studio.
3.Edit YouTube recordings
Snap-on the video you need to alter, and you can see all the data about this video, including title, portrayal, permeability, and so forth Pick “Editorial manager” at the left half of the interface, and you will be directed to the YouTube video supervisor’s interface, You would now be able to manage the current YouTube video by hauling the sliders on the timetable.
4.Save
After you are content with your altered video, you would now be able to click save.
Note: on the off chance that you are not content with the video that you altered, you can generally return to your unique video. Recordings with in excess of 1,000 perspectives will be saved as another video after the altering. You may likewise add notes and comments to your Videos. This comment may show up close by with the video relying upon the time that you need it to show up.