How to connect a second display to a Mac

June 10, 2022
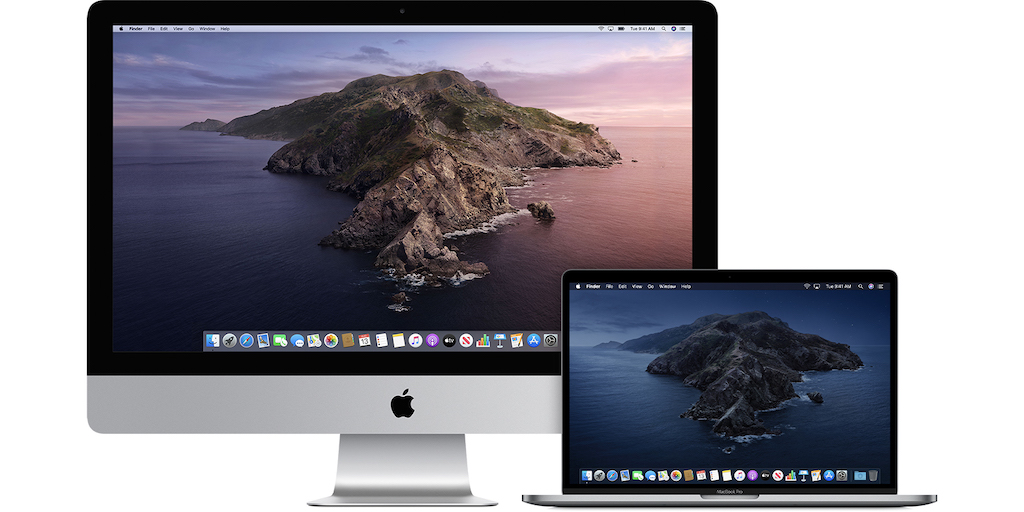
Did you know that you can connect a second display to a Mac? It’s a fantastic and really useful feature in certain situations. In fact, today’s guide will tell you how to perform this operation. Going into more detail, you can connect one or more external displays depending on the Mac model you own.
First of all, we would like to give you valuable information to know how many external screens your Mac supports:
- Click the apple icon in the top left and then click About this Mac; double-click the Serial number and then press Cmd+C on the keyboard to copy it.
- Visit the Technical Specifications page and click the Search Tech Specs bar, press Cmd+V to paste the serial number and click Search.
- Then click on the specification page for your Mac. The number of supported displays is indicated under the Video Support or Graphics.
On Mac computers you can connect up to 5 displays based on the chip in your PC:
-If you’re using a Mac Studio with the M1 Ultra: you can connect up to 5 external displays to your Mac, using the Thunderbolt 4 (USB-C) and HDMI ports on the front and back of your computer.
-If you use a Mac with the M1 Max:
- On MacBook Pro, you can connect up to 4 external displays to your Mac using the Thunderbolt 4 (USB-C) and HDMI ports.
- On Mac Studio, you can connect up to 5 external displays to your Mac using the Thunderbolt 4 (USB-C) and HDMI ports on the back of your PC.
-If you’re using a Mac with the M1 Pro: You can connect up to 2 external displays to your Mac using the Thunderbolt 4 (USB-C) and HDMI ports.
-If you use a Mac with the M1:
- On iMac, Mac mini, MacBook Air and MacBook Pro 13-inch, you can connect 1 external display using one of the Thunderbolt/USB 4 ports. On iMac, instead, connect the display to one of the ports with the Thunderbolt symbol.
- On Mac mini, you can connect a second display to the HDMI port.
How to connect a second display to a Mac
Now you’re ready to find out how to connect a second display to a Mac. It’s easier than you think!
Connect the display you want first to the power supply and then to your Mac. Of course, check your Mac’s ports to see if you need an adapter. If you use a USB-C or Thunderbolt adapter to connect the display, remember that it must be compatible with DisplayPort Alt Mode or Thunderbolt/USB 4.
Then, safely connect a video cable (and, if necessary, an adapter) from a video output port on your Mac to the video input port of the display in question!
If you use an external keyboard and mouse with your Mac, you can close the built-in display after you have connected the external display. To reactivate the external display, you may need to press a button.
If the external display does not turn on after you have connected it to your computer, connect the display while your Mac is off and then turn on your Mac.
If your Mac does not detect a connected display
- On your Mac desktop, go to the apple icon and click System Preferences, then tap Displays.
- Then, click the Detect Displays button. To view Detect Displays, you may need to press the Option button.
How to configure multiple displays as an extended desk
You can arrange the second screen to create an extended desk. For example, you can set the external screen next to your Mac to create a single continuous desktop. To view this option, however, the PC must be connected to a display.
- On your Mac desktop, go to the apple icon and click System Preferences, then tap Displays. Now tap on Display Settings.
- Click on the display name and choose Extend Display from the menu.
How to configure displays for video mirroring
Video Mirroring shows you the entire desktop on each display you connect. Remember that, to view this option, your Mac must be connected to a display.
- On your Mac desktop, click on the Apple menu (apple icon at the top left) > System Preferences > Displays > Display Settings.
- Select the screen and choose Mirror for Display from the pop-up menu.
We hope that the guide has been useful to you. If you want more information about the topic just discussed, click here.


